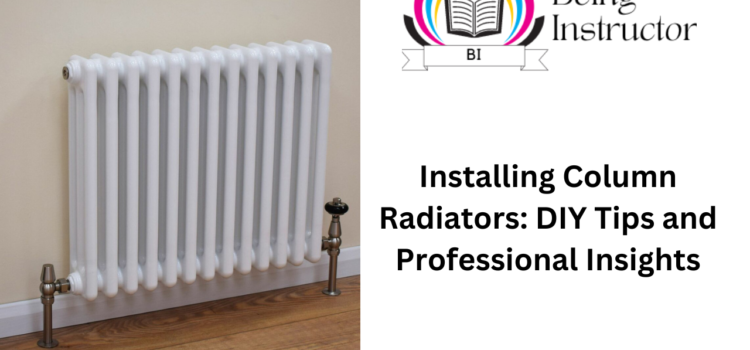
We all know the importance of having a comfortable, warm and cozy home environment, especially during those freezing winter months. The key to achieving this comfort lies in choosing the right heating system for your home. One popular choice among homeowners is the column radiator. Featuring elegant vertical columns and functional heat distribution, these radiators not only enhance your home’s aesthetic appeal but also provide superior warmth. In this blog, we will delve into some DIY tips and professional insights on installing column radiators.
First, it’s essential to understand that installing a column radiator may require some level of expertise, particularly if you’re planning a DIY installation. This is not to discourage the DIY enthusiasts, but to stress the need for proper planning and careful execution.
Location
Choosing the right location for your column radiator is crucial. Ideally, they should be installed under windows or on the coldest wall of the room to counteract the cold draft from the windows and provide uniform heat distribution. Additionally, remember to keep a clearance space around the radiator to ensure unrestricted airflow.
Tools
Here’s a list of tools you may need when installing column radiators: a drill, a spirit level, a measuring tape, wall plugs, screws, brackets, and of course, your column radiator. It’s also advisable to have an extra pair of hands for assistance, as these radiators can be heavy.
Installation Process
Typically, the installation process of a column radiator involves marking and drilling holes on the wall where the radiator will be mounted, using wall plugs and screws to secure the brackets, and finally mounting the radiator onto the brackets. During this process, the spirit level is your best friend! It keeps everything level and helps to achieve a professional-grade installation.
Post-Installation
Once the radiator is securely installed, the next steps involve connecting it to your heating system. This might include cutting and fitting pipes, which should be done carefully to avoid leakages. Once connected, the system should be filled with water, checked for leaks, and then unpinned using a bleed key.
Professional Insights
While DIY installation of a column radiator could potentially save you some money, it’s essential to understand that it’s not a small task and should be approached with caution. If you do not feel comfortable doing the installation yourself or if your home’s heating system is complex, it’s always a good idea to hire a professional. They not only ensure a correct installation but can also provide guidance on appropriate radiator placement for optimal efficiency.
In conclusion, while the installation of a column radiator might be a time-consuming task, the end result adds value to your home in terms of aesthetics and functionality. Just remember when embarking on this DIY adventure: Prioritize safety, be patient, and don’t hesitate to seek professional help if you encounter any hurdles along the way.
FOR MORE INFORMATION VISIT OUR HOMEPAGE:


